In this instance, I'm going to talk a little bit about how my Crested Caracara ink drawing was done.
First, I gather a nice library of reference photos, these days, mostly performed through a Google search, for both the common name and the scientific name. Generally, I end up with about 6-10 photos that compromise one drawing. This prevents the drawing from looking like any particular photo, and also includes enough detail to work up each part of the animal.
In this case, these photos here and here were used for the head. This one for the wings. Also this one and this one for the wing feathers. This one was referenced for the wing and tail feathers.
In this case, these photos here and here were used for the head. This one for the wings. Also this one and this one for the wing feathers. This one was referenced for the wing and tail feathers.
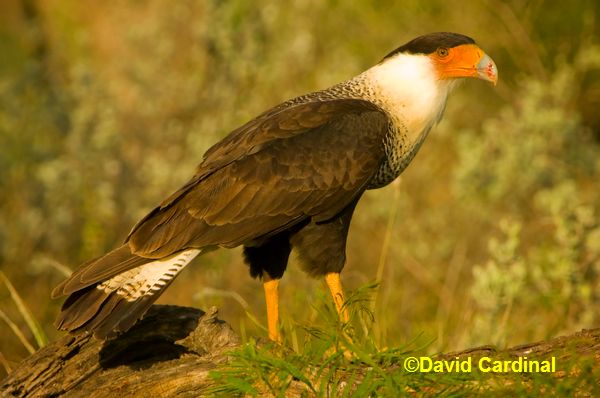
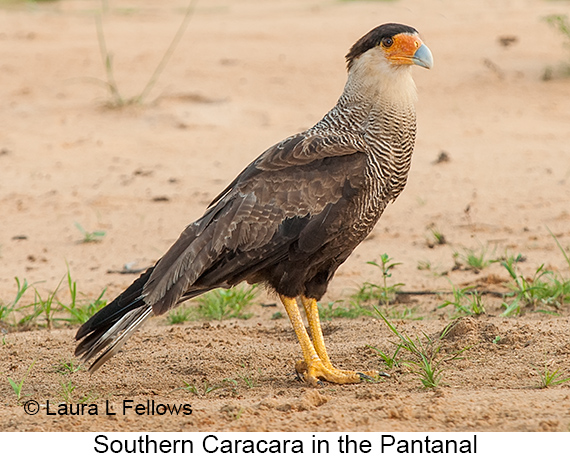
Two photos were used as the main references, which give the majority of the look of the final piece. This one was one I used a lot for the pose, wings, shadows, and patterning. Here's another I used the most for the pose and the feet.
A few other photos also played minor roles in detail references.
To save myself the trouble of sketching, then retracing onto tracing paper, I skip a step and sketch directly on tracing paper. The initial sketch is loose and light, with a 2H pencil, lots of erasing and correcting until I get something that looks like it matches all the references I used. Then, I make a few more small corrections in the process of transferring the image onto bristol using graphite transfer paper. All the dark lines on the sketch are the final lines that were transferred to the bristol paper.

Next step is to ink the transferred sketch. I generally start near the head, outlining the shape with a Hunt 512 nib. Anything that still feels strange at this point is erased and redrawn with the 2H pencil. I do most of the interior details with the Hunt 102 nib. Any stippling is done with a Micron .05 pen. And the end result:

As requested, a couple of close-up images.
The upper wing:

And the close-up of the head:
